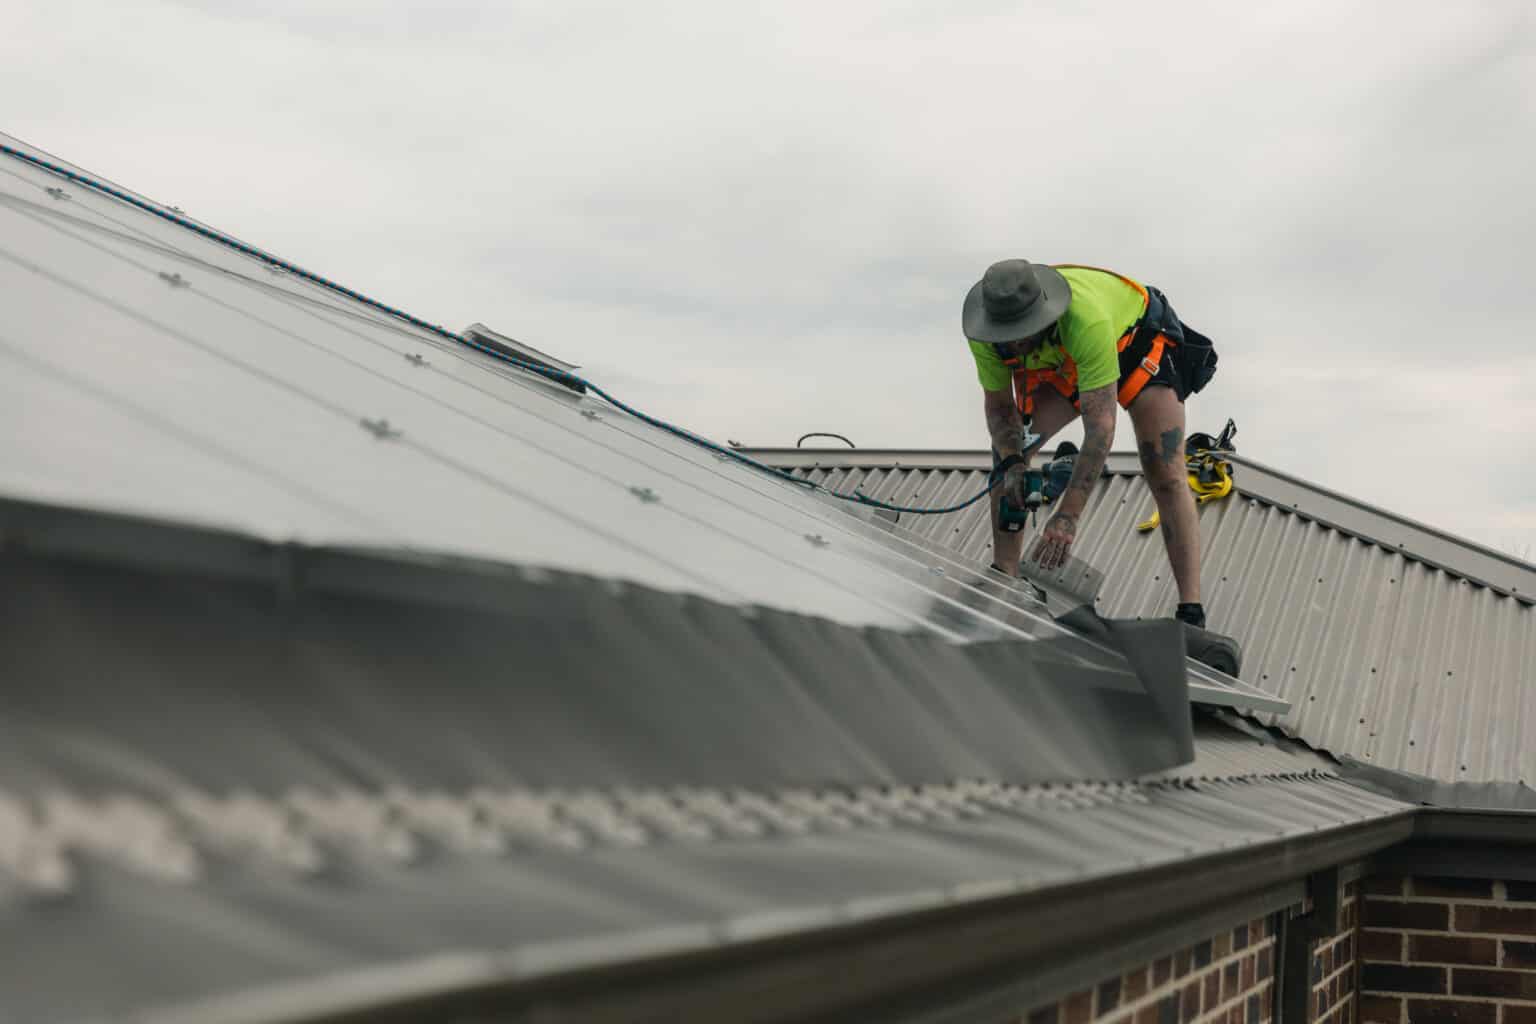

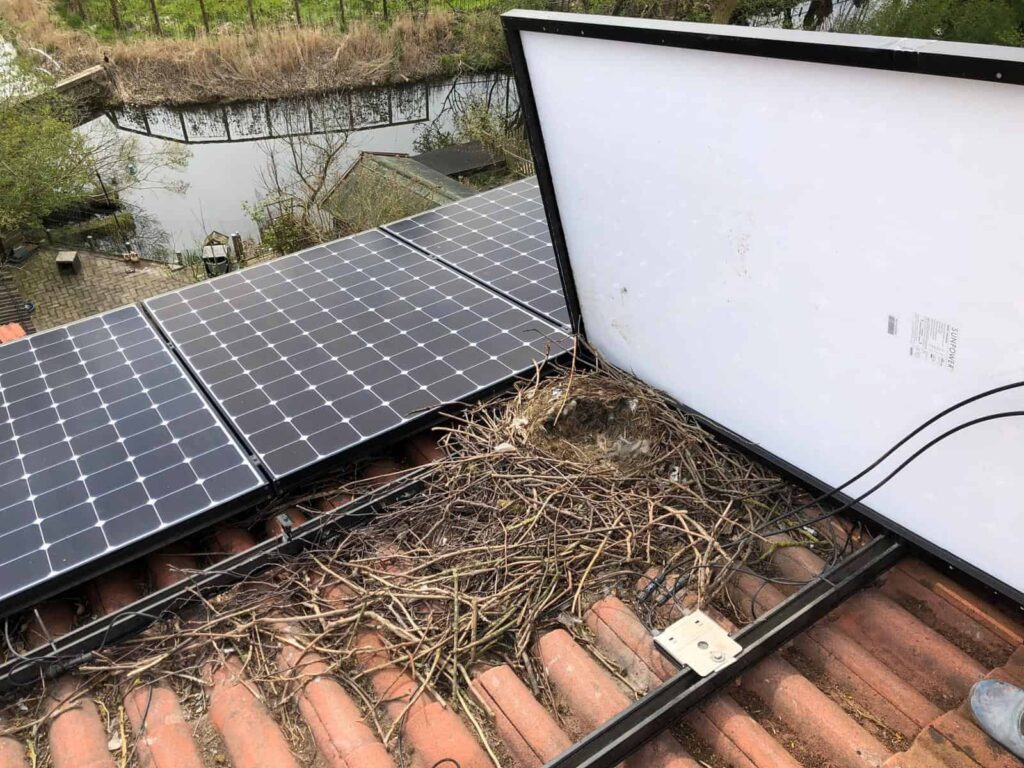
If you’ve been on a roof lately, chances are you’ve seen it. Or heard it. That familiar flapping under the panels. Welcome to winter, where solar panels become high-rise bird hotels, and your clients have no idea it’s happening.
While homeowners are curled up by the heater, pigeons are busy settling in under their shiny new solar investment. For birds, it’s the perfect winter retreat: warm, dry, and rent-free. For your clients? It’s a ticking time bomb of droppings, noise, corrosion, and eventually—complaints.
The good news? You’re in the perfect position to fix it before it becomes a problem. And no, we’re not talking about glue guns or garden owls.
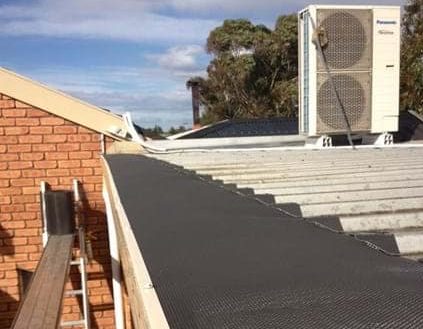
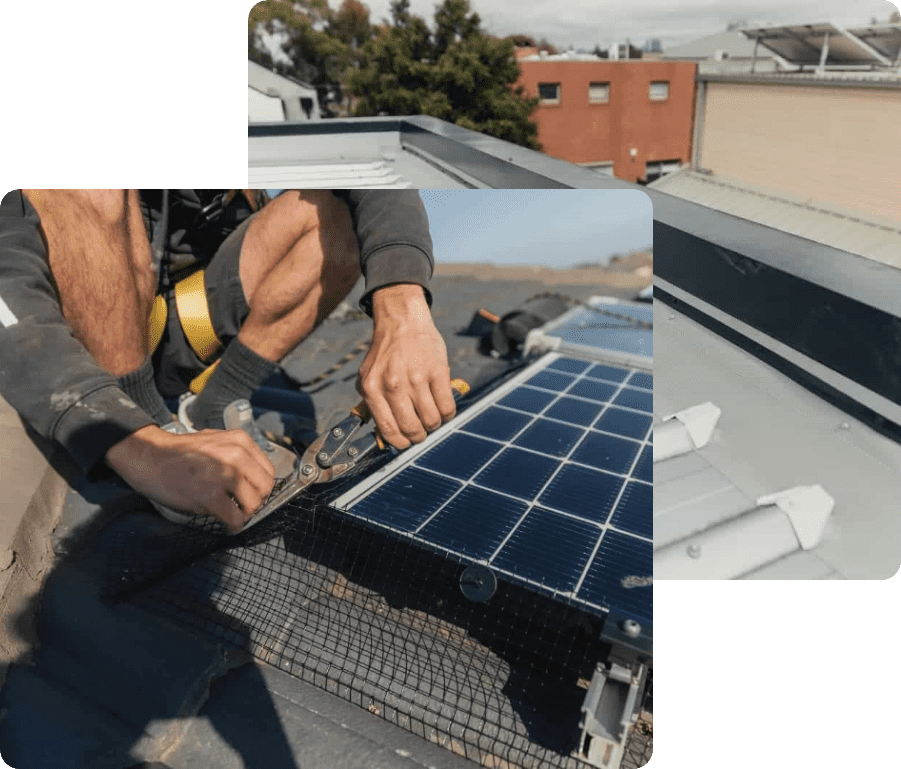
Enter SolarMesh—a fast, clean, no-drill bird-proofing system that adds serious value to your next job. Whether you’re quoting gutter guard, specifying roof fixtures, or just happen to be up a ladder this week—this is the winter add-on that sells itself.
Let’s break it down.
Why Winter Is Nesting Season Under Solar Panels
From a bird’s perspective, solar panels offer everything they need:
-
Warmth: Panels trap and retain solar heat, making the area beneath an ideal refuge during cold weather.
-
Shelter: The underside of panels offers protection from rain, wind, and predators.
-
Elevation: Roof height deters predators and provides a safe vantage point.
Birds are opportunistic. Once they find a warm, quiet cavity, they settle in—and often return year after year. That means winter is when they start looking, and installers should be initiating this conversation now, before the mess (and damage) begins.
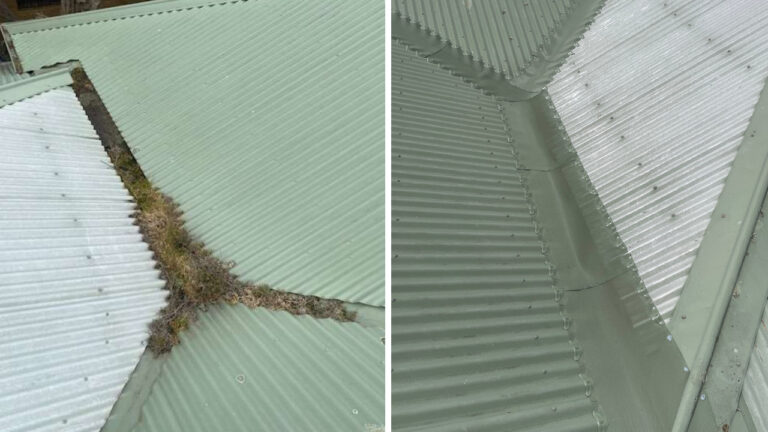
Need gutter guard installed?
The Cost of Waiting: What Birds Can Do
Once nesting begins, the consequences are costly and time-consuming for your clients:
Corrosion: Droppings are acidic and can damage solar panel coatings and frames.
Blocked Gutters & Wiring Damage: Nesting debris often finds its way into gutters and around wiring, increasing fire and water damage risks.
Voided Warranties: Many solar providers exclude damage caused by animals from their warranty coverage.
Health Hazards: Bird droppings carry parasites and bacteria, creating risks for children and pets.
Let your clients know: prevention is far cheaper than remediation.
Introducing SolarMesh: A Simple Add-On With Big Value
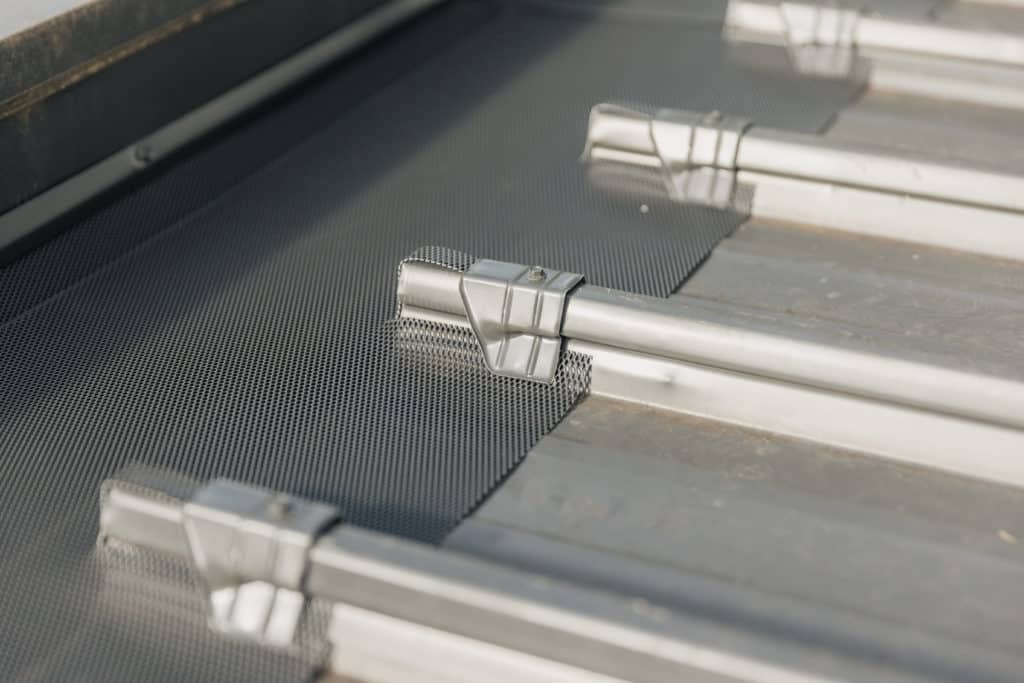
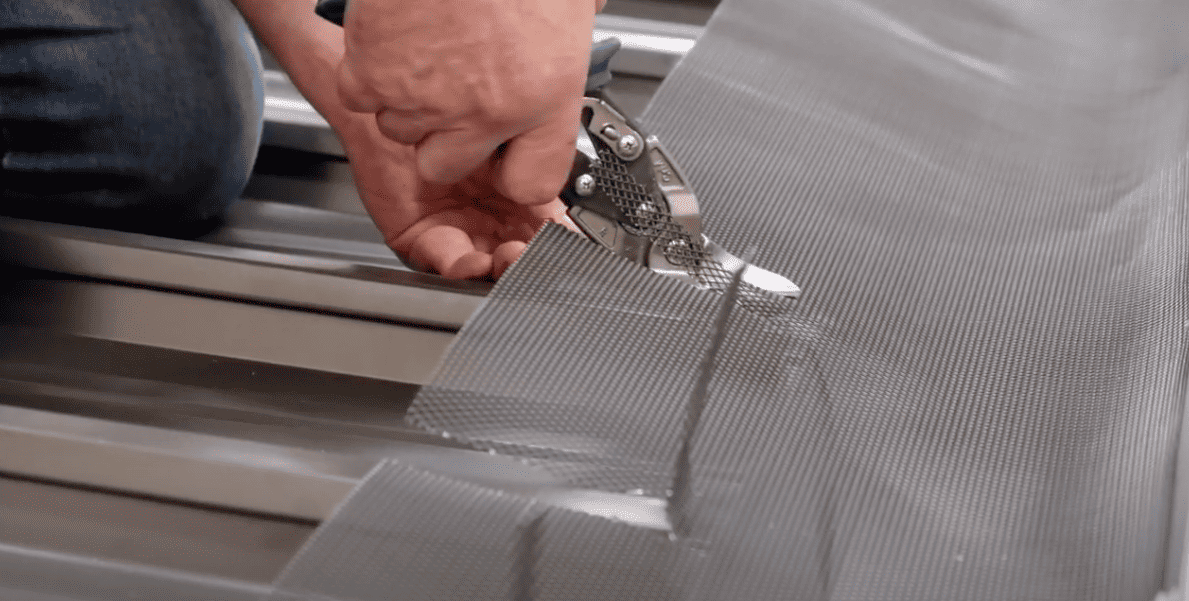
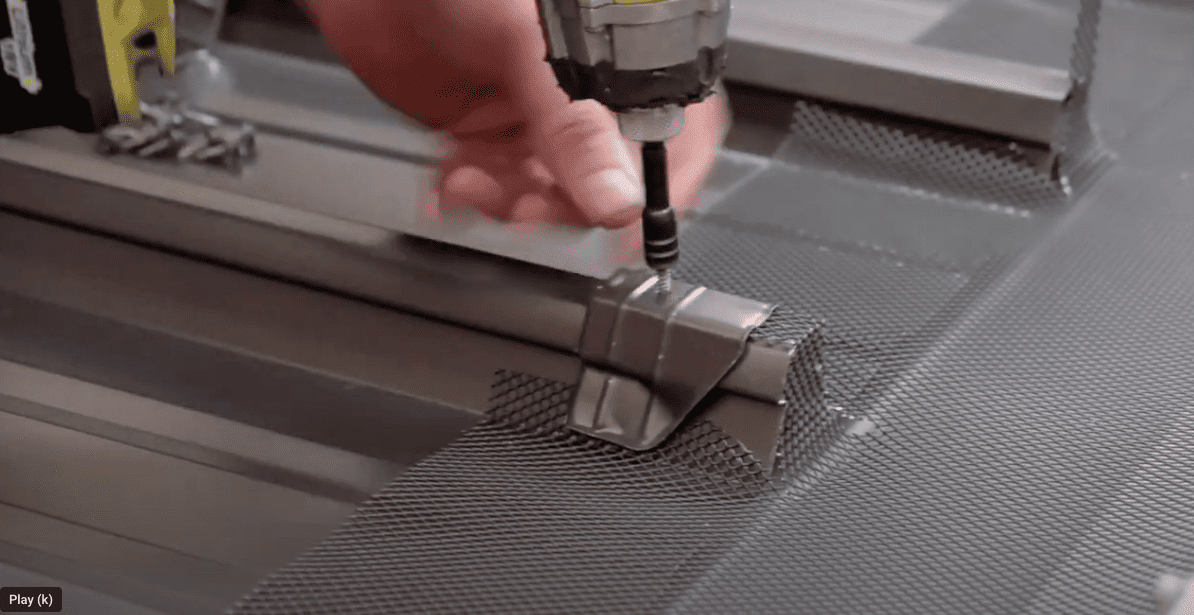
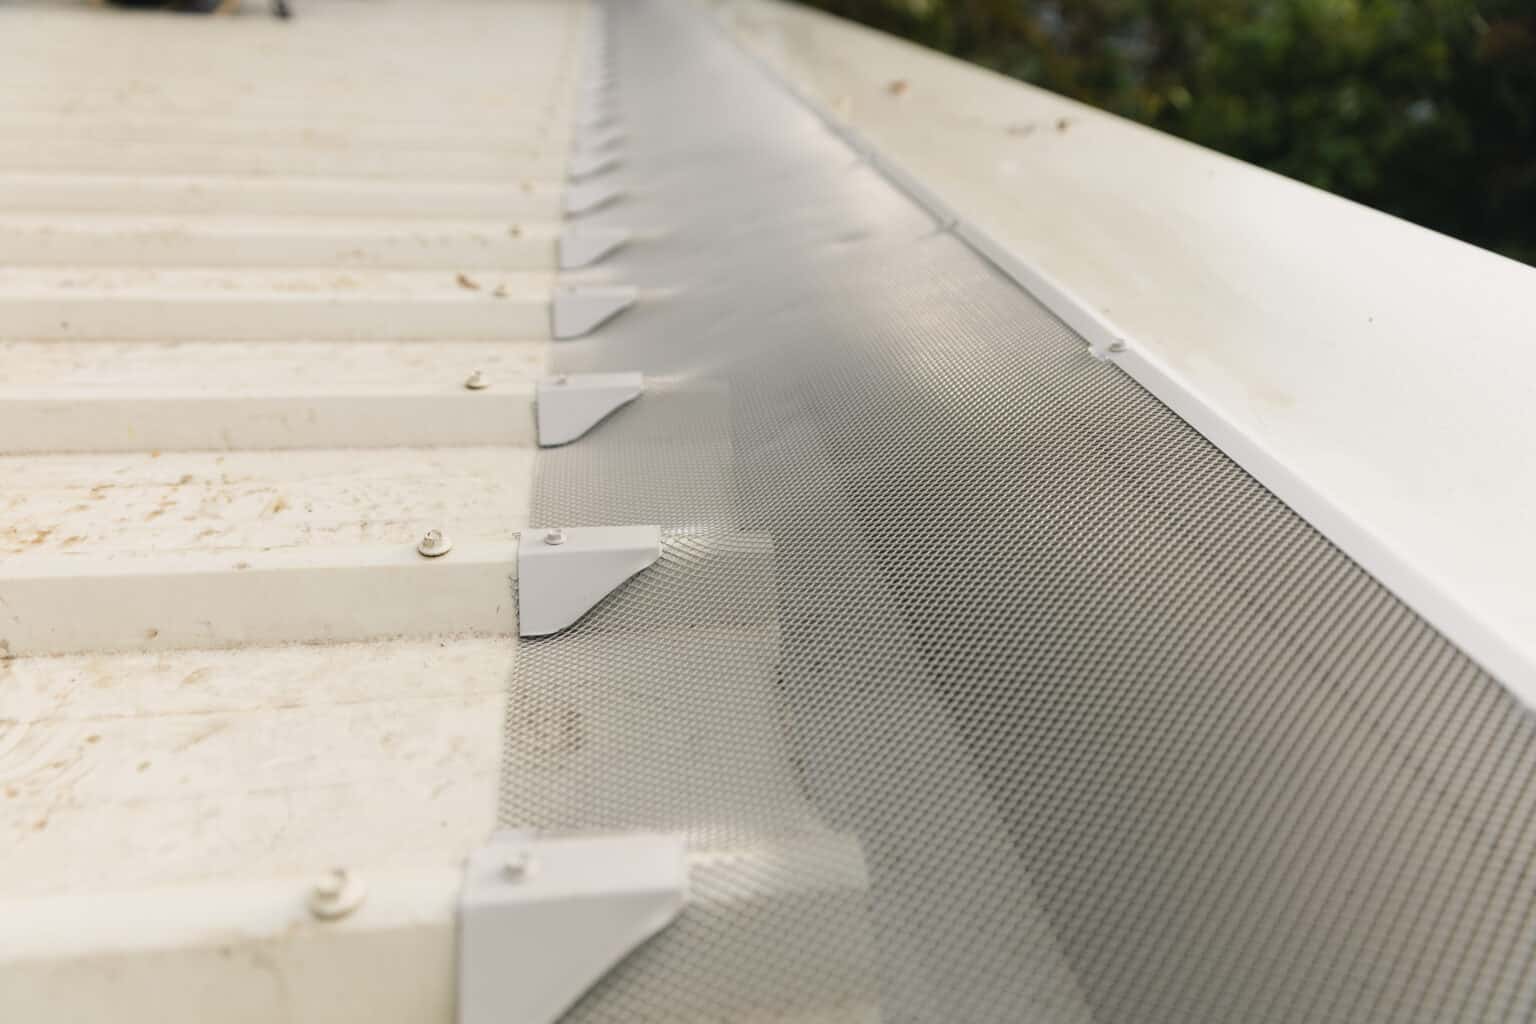
SolarMesh is our professional-grade bird-proofing mesh, purpose-built for trade installation on solar panel systems.
Features and benefits:
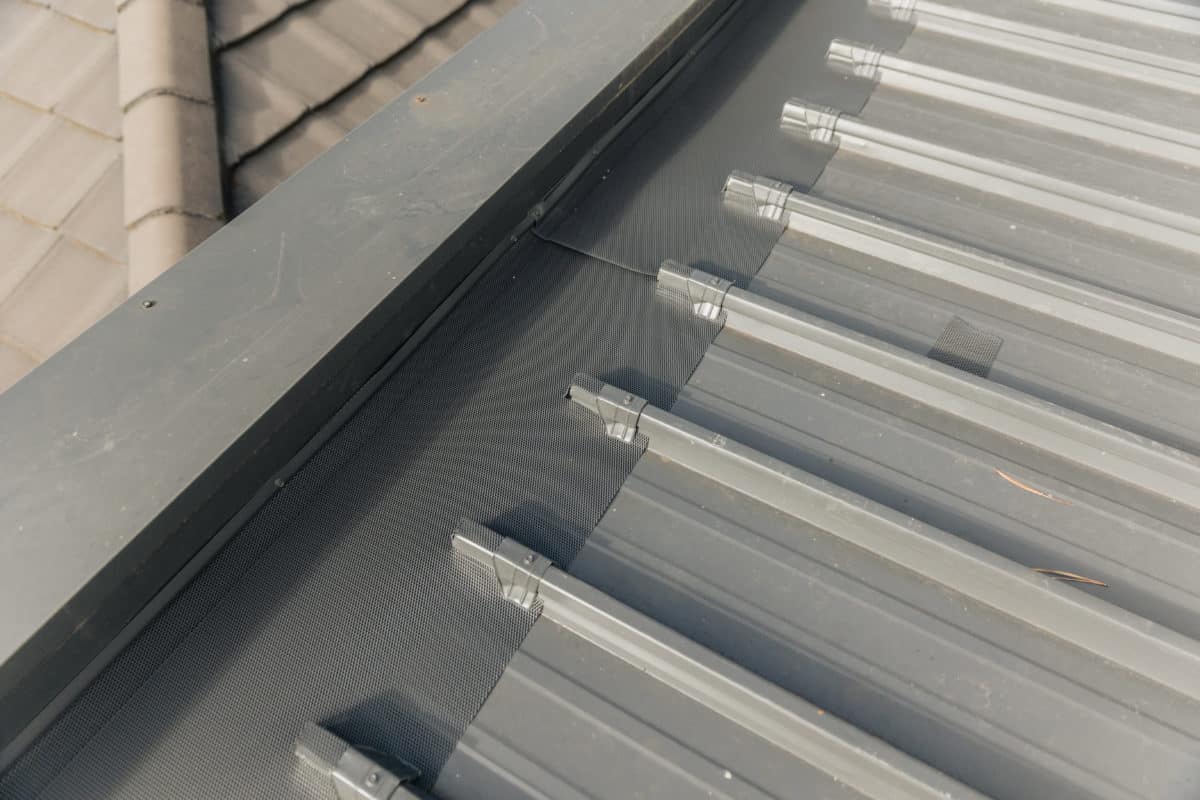
Stainless Steel or Galvanised Mesh with Black PVC coating
12mm Aperture allows airflow while blocking nesting
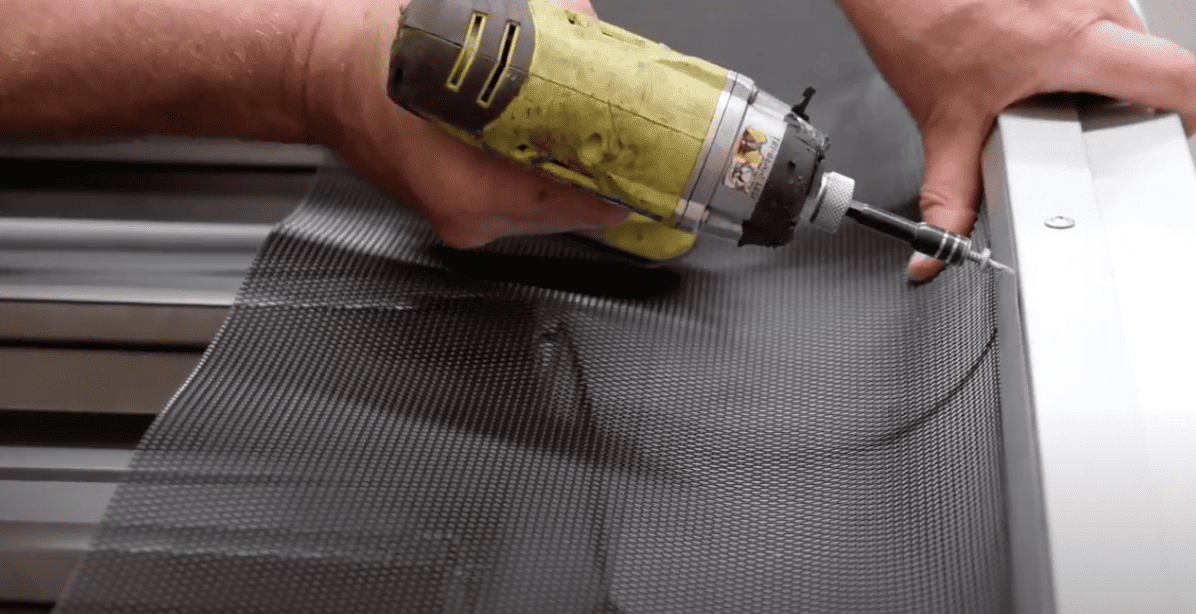
No-Drill Clip System—preserves panel warranties
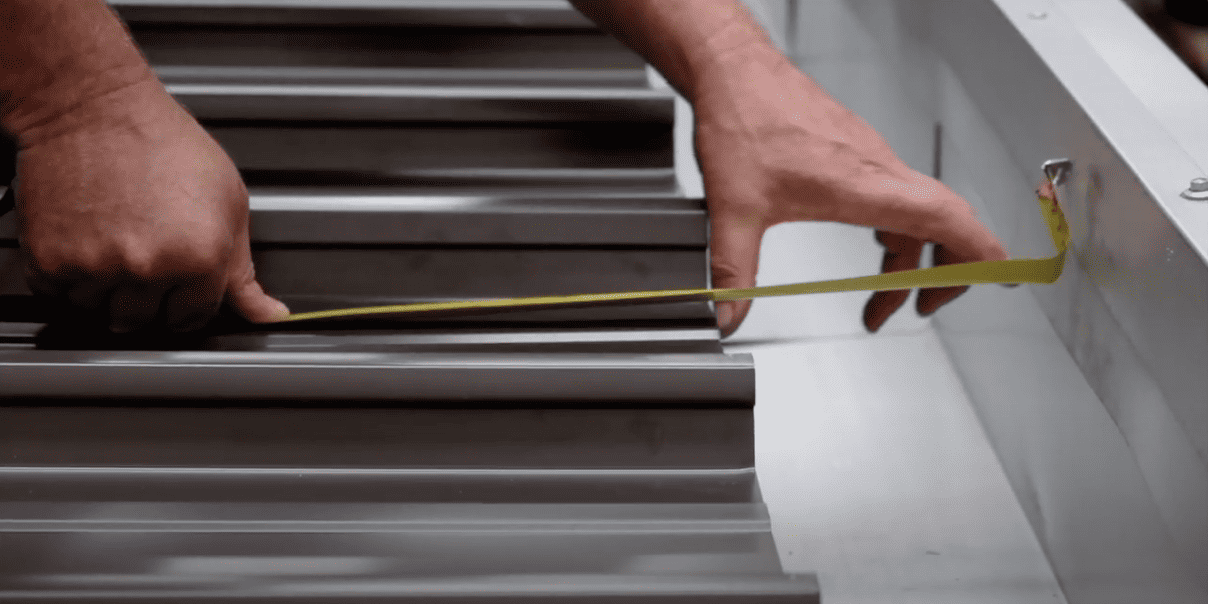
Fast Install, Professional Finish
Supplied in kits of 30m rolls and includes solar clips. It’s designed to integrate smoothly into your workflow—ideal for bundling into gutter guard installs, roof maintenance, or solar jobs.
How to Sell SolarMesh to Your Clients
1. Start the Conversation
Ask every client with solar panels:
“Have you had any issues with birds nesting under your solar panels?”
If they haven’t yet—great. Let them know that this winter is the critical time to prevent it. If they have, offer a long-term solution.
2. Highlight the Risks
Explain how solar panels provide the warmth and shelter birds look for in colder months, and how quickly nests cause mess, damage, and voided warranties.
Make it real by pointing out any feathers, droppings, or noise you observe during your inspection.
3. Bundle It In
SolarMesh is a simple add-on that’s quick to quote and install. If you’re already on the roof or quoting for a gutter guard, it’s a minimal upsell with major value.
Clients appreciate bundled solutions that prevent future problems—this is your opportunity to offer one.
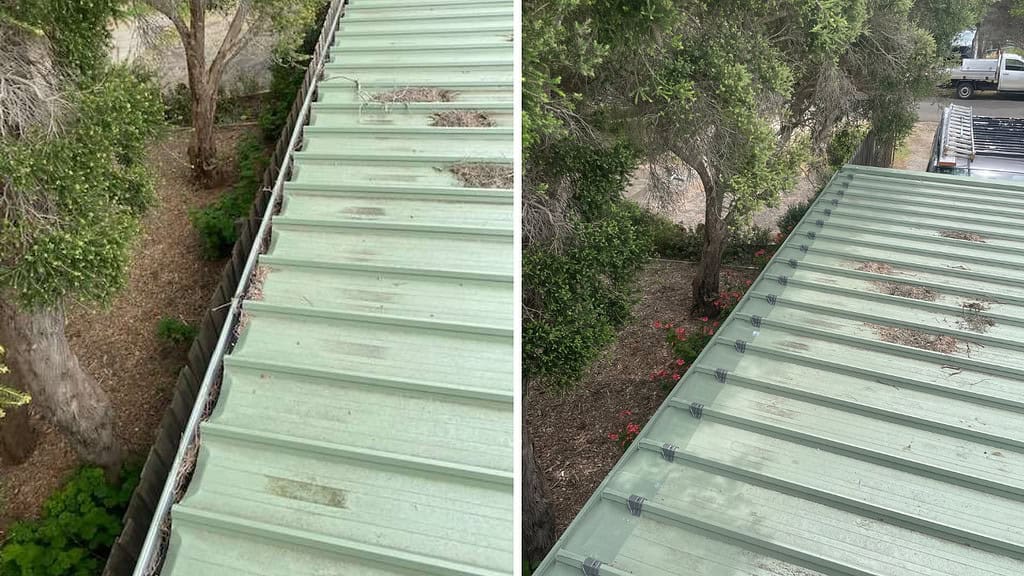
Need gutter guards installed
ScreenTech Has Everything You Need
As a ScreenTech installer, you get:
Access to SolarMesh kits—galvanised or stainless steel, cut-to-size
Poly or Metal Solar Clips—easy-fit, no drilling required
Trade Pricing & Fast Fulfilment from our warehouse
Marketing Support—sales folders, mesh samples, and expert advice
We’ve designed SolarMesh to help tradespeople grow their business through smart add-ons that solve real problems.
With solar panel installs on the rise, the demand for bird-proofing is only going to increase. Be the installer who solves the problem before it starts.
Don’t wait for nesting season to peak—equip your clients now while it’s quiet.
Need help quoting or want to order a SolarMesh trade kit?
Contact ScreenTech today—we’ll help you quote with confidence and install with ease.
Look no further than ScreenTech’s TuffMesh®, GutterMesh, SteelMesh and SolarMesh products. Our mesh suits Klip-Lok®, Timdeck® corrugated roof types and tiled roofs. Get in touch with a ScreenTech installation partner today.